Cyberpunk 2077 Map — Night City Districts & Fast Travel Guide
Complete Night City map guide: all 6 districts, Dogtown (Phantom Liberty), Fast Travel system with 150+ Dataterms, and every map activity. Exploration tips for efficient navigation.
Published September 1, 2026 · Last updated September 4, 2026
Quick Answer: Night City Map Overview
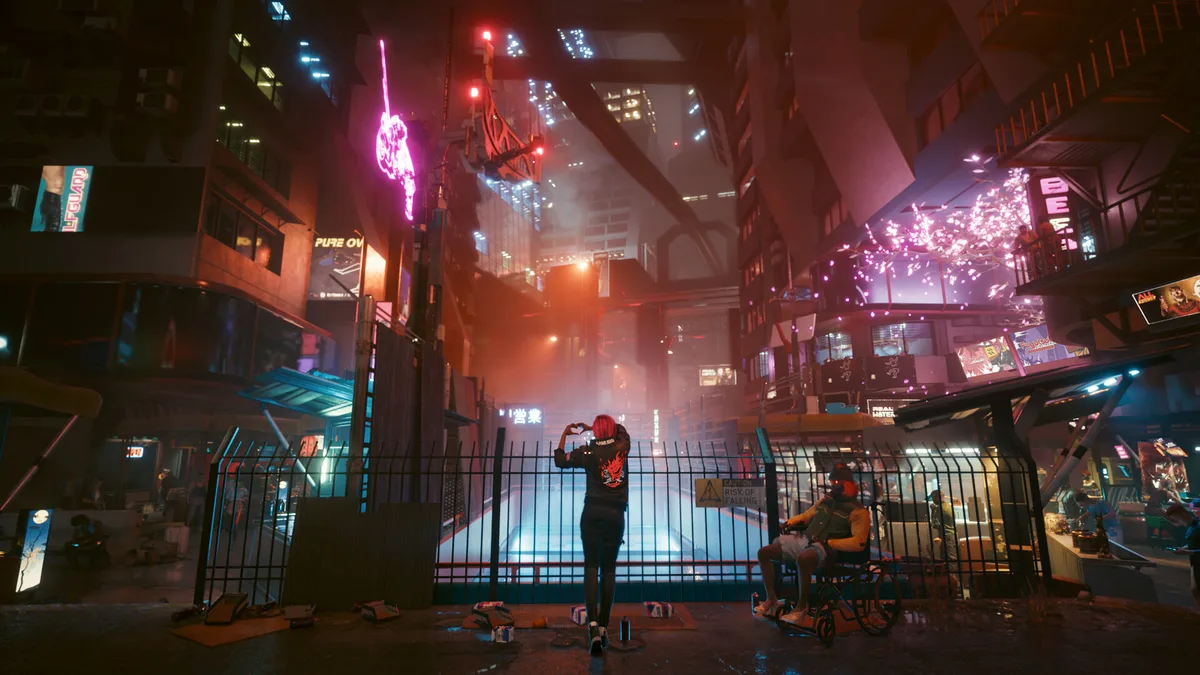
Cyberpunk 2077 takes place primarily in Night City, a dense, vertically layered megacity on the West Coast of the former United States, plus the surrounding desert known as the Badlands. The playable area consists of 6 main urban districts plus the Badlands. With Phantom Liberty, a walled-off zone called Dogtown (within Pacifica) is added. The map is designed for both ground and vertical exploration (multi-level buildings, elevated highways, metro). Early game access is restricted mainly to Watson — other districts unlock as the story progresses.
| District | Key Subdistricts | Dominant Gangs | Notes |
|---|---|---|---|
| Watson | Northside, Little China, Kabuki, Arasaka Waterfront | Maelstrom, Tyger Claws | ⭐ Starting district. V's first apartment (Megabuilding H10) |
| Westbrook | Japantown, North Oak, Charter Hill | Tyger Claws | Nightlife, luxury, Japanese cultural influence |
| City Center | Corpo Plaza, Downtown | Corporate (minimal gangs) | Corporate heart of Night City, skyscrapers |
| Heywood | The Glen, Wellsprings | Valentinos | Residential / cultural area, City Hall |
| Santo Domingo | Arroyo, Rancho Coronado | 6th Street | Industrial / working-class, power plants |
| Pacifica | Coastview, West Wind Estate | Voodoo Boys, Animals | Abandoned resort area, dangerous. Contains Dogtown |
| Badlands | Rocky Ridge, Biotechnica Flats, etc. | Aldecaldos, Wraiths | Desert outskirts. Nomad territory |
| Dogtown (PL) | Inside Pacifica, walled-off | Barghest militia | Phantom Liberty zone. Compact but dense |
Dogtown (Phantom Liberty)
Dogtown is a walled-off section inside Pacifica, added by the Phantom Liberty expansion. It is controlled by the Barghest militia led by Kurt Hansen. Despite being smaller than the base city districts, it is dense with activities.
| Feature | Details |
|---|---|
| Access | Unlocked via PL main story ("Dog Eat Dog" after contacting Songbird) |
| Factions | Barghest militia (Kurt Hansen) — hostile if wanted |
| Fast Travel | Own set of Dataterms (Golden Pacific, Longshore Stacks, EBM Petrochem Stadium, etc.) |
| Apartment | New player apartment in Dogtown |
| Activities | Vendors, Relic terminals, Tarot cards, gigs, Increased Criminal Activity zones |
| Airdrops | Red smoke drops with high-tier loot — Dogtown exclusive |
| Exit/Entry | Gates scan vehicles; cannot leave while wanted by Barghest |
| Size | Relatively compact — cross quickly by vehicle |
Fast Travel System
Fast Travel points appear as Dataterms — green holographic map kiosks in the world, blue icons on the map. You must discover a point by getting close to it before you can teleport there. There are well over 150–190 Fast Travel points across the full map (including Dogtown).
| Feature | Details |
|---|---|
| Dataterms | Green holographic kiosks, blue icons on map |
| Discovery | Must get close to a Dataterm before it becomes available |
| Usage | Teleport to any previously discovered Dataterm from the map or another Dataterm |
| Total Count | 150–190+ across the full map (including Dogtown) |
| Achievement | Unlocking all Fast Travel points grants the "Frequent Flyer" achievement/trophy |
| Dogtown | Has its own set of Dataterms separate from Night City |
All Fast Travel Locations by District
Complete list of key Fast Travel Dataterms organized by district. You must visit each location once to unlock it for future teleportation.
| District | Fast Travel Location | Notes |
|---|---|---|
| Watson | Megabuilding H10 | V's apartment — starting fast travel point |
| Watson | Lizzie's Bar | Judy's location, key story hub |
| Watson | Kabuki Market | Central Watson hub, many vendors |
| Watson | Northside | Maelstrom territory, early gigs |
| Westbrook | Japantown (Charter Hill) | Tyger Claws territory, many gigs |
| Westbrook | North Oak | Upscale area, near Afterlife |
| City Center | Corpo Plaza | Central business district |
| City Center | Downtown | Skyscraper area, many vendors |
| Heywood | The Glen | Valentinos territory, large area |
| Heywood | Wellsprings | Residential area, many apartments |
| Heywood | Vista Del Rey | Large district, many gigs |
| Santo Domingo | Arroyo | V's starting lifepath area (Nomad) |
| Santo Domingo | Rancho Coronado | Industrial area, 6th Street territory |
| Pacifica | Coastview | Voodoo Boys territory, dangerous |
| Pacifica | West Wind Estate | Apartments area, Fingers location |
| Badlands | Rocky Ridge | Nomad territory, many roadside gigs |
| Badlands | Biotechnica Flats | Corporate research area |
| Badlands | Cadillac Ranch | Iconic location, abandoned cars |
| Dogtown (PL) | Golden Pacific | Main Dogtown hub |
| Dogtown (PL) | Longshore Stacks | Dock area, many gigs |
| Dogtown (PL) | EBM Petrochem Stadium | Major landmark, many activities |
| Dogtown (PL) | Summit Towers | High-rise area |
| Dogtown (PL) | The Heart | Central Dogtown plaza |
Map Activities & Markers
The map is packed with activities and points of interest beyond Fast Travel. Here is what to look for as you explore.
| Marker | Description | Reward |
|---|---|---|
| Gigs | Fixer jobs — combat, escort, hacking missions | Eddies, Street Cred, gear, occasionally iconic weapons |
| NCPD Scanner Hustles | Crime scenes, suspicious activity (skull icons) | Eddies, components, sometimes iconic weapon specs |
| Cyberpsycho Sightings | Dangerous cyberware-obsessed targets | Eddies, gear, combat challenge |
| Tarot Card Graffiti | Collectible art scattered across the city | Collection completion, lore |
| Ripperdocs | Cyberware installation points | New cyberware available for purchase |
| Weapon/Clothing/Food Vendors | Shops for gear and consumables | Equipment, crafting components |
| Apartments | Purchasable player housing | Safe house, weapon racks, fast travel point |
| Hidden Stashes / Gems | Secret loot locations | Rare items, easter eggs |
| Relic Terminals (PL) | Dogtown-specific collectibles | Relic skill tree points |
| Airdrops (PL) | Red smoke drops in Dogtown | High-tier loot, PL-exclusive iconics |
| Vehicle Spawns | Free car locations | Free vehicles for your garage |
Exploration Tips
How to navigate Night City efficiently and make the most of the open world.
- Progress the main story to naturally unlock more of the map. Early game access is limited mainly to Watson.
- Use vehicles for efficient travel between districts. Fast Travel for long distances once Dataterms are unlocked.
- District difficulty roughly increases as you move away from Watson. Pacifica and parts of the Badlands are more dangerous early on.
- Always stop near Dataterms while exploring — you never know when you'll need a quick escape route.
- Interactive maps (external sites) are extremely useful for 100% completion (Iconic weapons, Tarot cards, Relic points, etc.).
- Dogtown is dense with activities despite its smaller size — worth thorough exploration once unlocked.
- The map has significant verticality — check rooftops, balconies, underground passages and multi-level buildings for hidden content.
- Cyberpsycho sightings scale with your level — revisit areas later for harder (more rewarding) encounters.
- Fixer gigs often chain into each other — completing one may unlock new gigs from the same Fixer.
- NCPD Scanner Hustles with skull icons frequently drop iconic weapon crafting specs — don't skip them.
District-by-District Guide: Fixers, Gigs & Cyberpsychos
Each district runs on its own fixer, its own gangs and its own activity mix. Gig counts below exclude the cyberpsycho sightings, which get their own column; later patches added extra jobs, so treat the totals as close approximations. NCPD hustle counts are base-game tallies of the 156 total — they cluster thickest in Watson (37) and Santo Domingo (29), while Pacifica trades quantity for tougher fights. One quirk: Westbrook is the only base-game district with zero cyberpsycho sightings — all 17 hide elsewhere.
| District | Fixer (Gigs) | Cyberpsychos | NCPD Hustles | What It Offers |
|---|---|---|---|---|
| Watson | Regina Jones — 23 gigs, the biggest roster | 6 of 17 | 37 | Starting hub: Kabuki Market, the Afterlife, Lizzie's Bar, Totentanz, Viktor's clinic, Konpeki Plaza at the waterfront |
| Westbrook | Wakako Okada — 9 gigs (8 hers, 1 from Rogue) | 0 | 22 | Japantown nightlife and Cherry Blossom Market, Clouds, North Oak villas, Brendan the vending machine |
| City Center | Dino Dinovic — 5 gigs | 2 | 13 | Compact corporate core: Arasaka Tower, Corpo Plaza, corpo security instead of gangs |
| Heywood | Sebastian "Padre" Ibarra — 12 gigs (11 his, 1 from Rogue) | 2 | 18 | Valentinos turf, Vista del Rey and The Glen, Wellsprings ripperdoc, City Hall |
| Santo Domingo | Muamar "El Capitan" Reyes — 13 gigs | 2 | 29 | Industrial Arroyo, Rancho Coronado suburbs, 6th Street gang fights, David's ripperdoc shrine |
| Pacifica | Mr. Hands — 1 gig | 2 | 11 | High-level danger zone: Grand Imperial Mall, Voodoo Boys and Animals turf, abandoned resorts |
| Badlands | Dakota Smith — 9 gigs | 3 | 26 | Open desert driving, Aldecaldos and Wraiths, Biotechnica Flats, a free Caliburn in a tunnel |
| Dogtown (PL) | Mr. Hands — 9 gigs | 0 | Airdrops + crime zones | Airdrops, Relic terminals, Increased Criminal Activity zones, EBM Petrochem Stadium black market |
Best Ripperdoc Locations by District
Since Update 2.0, every base-game ripperdoc stocks the same cyberware, so the choice comes down to convenience and discounts. Watson has the most clinics by far; the further out you go, the fewer there are. Dogtown's ripperdocs are the exception — they carry extended stock beyond the shared base-game list.
| District | Ripperdocs (Subdistrict) | Notes |
|---|---|---|
| Watson | Viktor Vektor (Little China); Charles Bucks, Dr. Chrome and Instant Implants (Kabuki); Cassius Ryder (Northside) | Five clinics in one district. Viktor is your story ripperdoc; Bucks cuts prices if you play along in Gig: Last Login |
| Westbrook | Fingers MD plus one more clinic (Japantown); Nina Kraviz (Charter Hill) | Go easy on Fingers during The Space In Between — hit him and his clinic is closed to you for good |
| City Center | Downtown clinic | The only ripperdoc in the corporate core |
| Heywood | Wellsprings clinic | One convenient stop for the southern districts |
| Santo Domingo | Arroyo clinic; Octavio's Clinic (Rancho Coronado) | Octavio covers the western suburbs |
| Pacifica | West Wind Estate clinic | The district's only ripperdoc — install new chrome before pushing into Voodoo Boys turf |
| Badlands | Aldecaldos mobile camp | Packs up and relocates when the nomad camp moves after Panam's storyline |
| Dogtown (PL) | Several ripperdocs around the zone | Extended inventory beyond the shared base-game list |
Vehicle Vendors: How and Where to Buy Cars
There are no car dealerships in Night City — every purchase runs through the Autofixer app on V's phone. Fixers text you as new listings arrive, vehicles unlock with Street Cred, and several listings only appear after you visit the district where the car is parked. For the full price list and all roughly 27 free vehicles as of Update 2.3, see cars — you rarely need to pay full price.
- Westbrook: premium metal — the Aerondight "Guinevere" and more unlock after visits to Charter Hill and North Oak.
- City Center: the purchasable Rayfield Caliburn, tied to a trip through Downtown.
- Heywood: affordable mid-tier cruisers that carry the early game.
- Santo Domingo and the Badlands: muscle and off-road runners built for 6th Street turf and open desert.
- Dogtown (Phantom Liberty): El Capitan's vehicle contracts hand out free wheels, including the weaponized Herrera Outlaw "Weiler".
Efficient Exploration Order for New Players
A route that keeps danger in step with your level and Street Cred climbing. For survival basics, start with the beginner guide.
- Sweep Watson first — Regina's 23 gigs, six cyberpsychos and dense NCPD work make it the best Street Cred farm in the game.
- Push the main story into Act 2. The whole map opens, every fixer starts calling, and the gig floodgates swing wide.
- Work the central loop next: Heywood and Westbrook are medium-threat and well served by the NCART metro (19 stations, 5 lines since Update 2.1) — clear Padre's and Wakako's rosters between story beats.
- Detour through City Center — compact, only 5 gigs and 2 cyberpsychos, quick to clear.
- Move south to Santo Domingo for 6th Street fights and the Rancho Coronado suburbs, and buy chrome at Octavio's.
- Drive the Badlands — Dakota's 9 gigs sprawl across open desert, and the free Caliburn tunnel is on the way.
- Save Pacifica for when your build is ready — Voodoo Boys and Animals turf hits hardest in the base game. Endgame pointers in builds.
- Enter Dogtown when Phantom Liberty's Dog Eat Dog calls you — sweep airdrops and Relic terminals there early (see the Dogtown section above).
All Cyberpsycho Sightings: Locations by District
Cyberpsycho Sightings are NCPD-reported mini-boss encounters — 17 in the base game plus more in Phantom Liberty. Each is a one-on-one fight against a heavily chromed enemy with a unique gimmick, and completing all of them feeds the quests milestone for Regina Jones. Find them via the blue NCPD icons on the map after picking up the Cyberpsycho Sightings job.
| District | Cyberpsychos | Notable Fights |
|---|---|---|
| Watson | 4 | Half-Submerged (aquatic fight), Letter to Mother, Smoke on the Water |
| Westbrook | 2 | Night Wraith, Stimtown |
| Heywood | 2 | Bulletproof (shielded), Leave No Trace |
| Santo Domingo | 3 | Creepy Crawl, Personal Support, Countdown |
| Pacifica | 3 | Lex Talionis, Departure, Freedom |
| Badlands | 3 | Desert Hunt, On the Move, Ritual |
| Dogtown (PL) | Several | Added by Phantom Liberty — tied to airdrops and Relic points territory |
All Tarot Card Murals: 22 Collectibles
Graffiti murals of Major Arcana tarot cards — 20 in the base game and 2 more in Phantom Liberty — are scannable collectibles tied to the Fool on the Hill job from Misty. Each mural must be scanned to register; rewards include the Wandering Fool achievement and closure for Misty and Johnny. They also mirror the endings: the final ending choice is framed through tarot cards.
| Card | Location | District |
|---|---|---|
| The Fool | Megabuilding H10 courtyard, after The Heist | Watson |
| The Magician | Konpeki Plaza entrance area | Watson |
| The High Priestess | Behind the waterfall near theAfterlife perimeter | Heywood |
| The Emperor | Arasaka Waterfront cargo area | Watson |
| The Hierophant | Japantown market back alley | Westbrook |
| The Lovers | Nocturne OP55N1 rooftop vicinity | City Center |
| The Chariot | Sunset Motel side wall | Badlands |
| Strength | Arasaka Industrial Park fence | Santo Domingo |
| The Hermit | Oil fields pump station | Badlands |
| Wheel of Fortune | Sunset Motel area (Badlands races) | Badlands |